Spring Break Tinkering School at reDiscover Center

We are making a movie this week at reDiscover’s Tinkering School, where I am lead instructor. And when I say “we are making,” I mean the kids. They will be designing and building absolutely everything – the script, the sets and props, the camera dolly, and all of the characters/creatures. Today, the campers (aged 7-12) were presented with the week’s big build theme: Monster Attack Movie, and – after much debate and voting – they decided on a Lightning Marshmallow Man for their monster. 
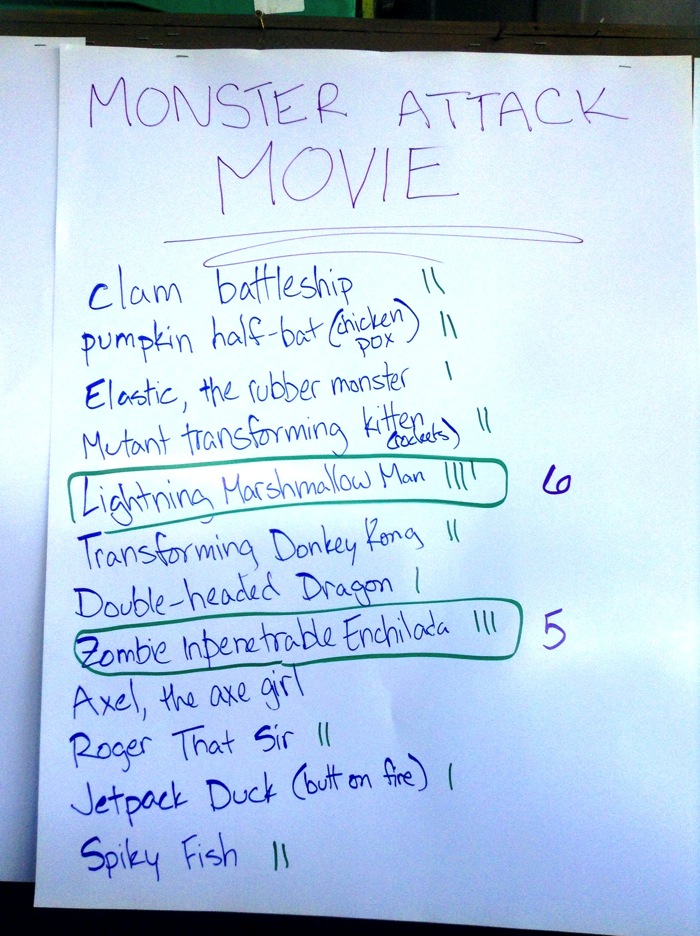
 

Photo Mar 24 12 46 23 PM


(The creativity behind this kind of brainstorm list just makes my day.)


It’s interesting to contemplate the things that the kids considered monster-worthy, especially as each society’s monsters are a reflection of the threats and concerns of the time period. There is obviously a heavy element of whimsy (a mutant transforming kitten, for example), and a lot of animals or everyday things turned upside down (a zombie vulnerable only to enchiladas), but the story that developed from their chosen monster says a lot. The marshmallow man comes about when a barrel of toxic waste spills on a bag of marshmallows. An environmental hazard makes the fluffiest of sweets deadly, and brings on natural disasters in the form of targeted lightning strikes. It does say a lot about what children see as some of the biggest threats right now.


Yesterday, they had training in all of the main tools of our shop: clamps (regular and corner), power drills and drivers, squares and T-squares, tape measures, hand saws, saw horses, jig saws, and the chop saw (the last two always are used with direct adult supervision).


The Tinkering Challenges from yesterday were to build a structure from dowels and corks with a trick that can easily knock it over, and – in the afternoon – to build something to move a cup of water around the room without  spilling it or holding it with their hands. We wrote down what we discovered from those challenges, and today we got to use those observations in planning the set destruction and the camera dolly.


They absolutely dove into building once we got going. The groups (which I always like to assign after the brainstorm, and based on what sparks their interest) had a few prompt questions to help them think of what aspects they would need to plan for. Fortunately, I had my laptop with me, because our writers have some killer keyboard skills and had enough ideas to need that speed. The monster building group decided on their materials, started building the frame, and learned how to use spade drill bits when they wanted larger holes. The set/props group began construction on a toxic waste refinery, the empire state building, and marshmallow bombs that break apart when they hit the ground (a really effective design, where foam balls are cut in half and held together loosely with a cork in the middle). The camera group assessed the challenge results from before and created their own design for a dolly based on them, which includes spaces for prop storage and snacks. Gotta love crafty. :)


I’m really looking forward to tomorrow, and will post again with pictures!

CRASHspace Signs

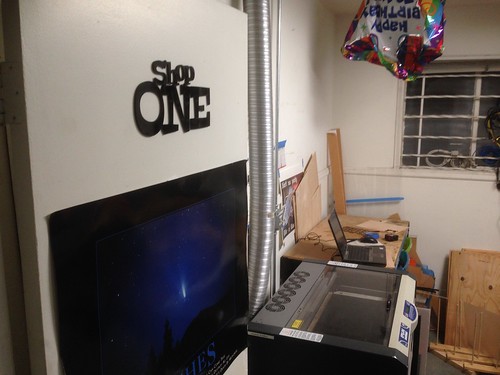
If you haven’t gathered, Crashspace is my hackerspace home, and the signs on the room doors were in dire need of update. (“Dante cleaned Shop One! Yay, Dante! Wait, which one is that?”) There were signs, but they were subtle printings on paper, which no one ever looked at.


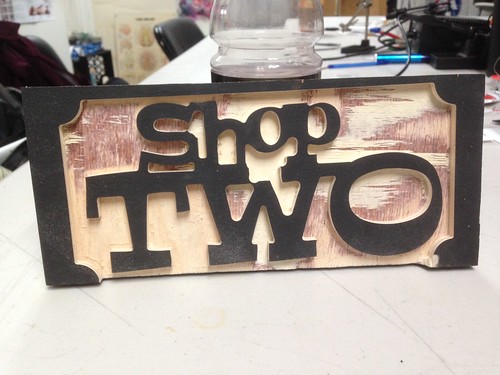
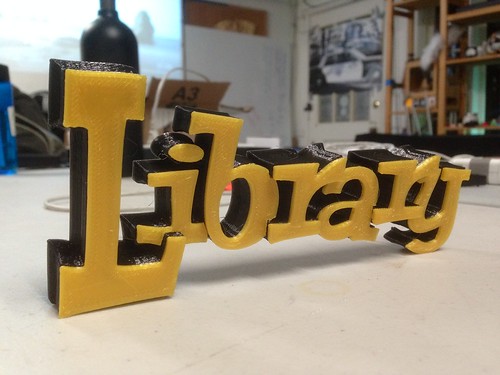
So I made some new signs that are tool-specific to each room. Lasercut acrylic for Shop One, CNC router for Shop Two, and 3d printed for the Library. As I am wont to do, I made some tweaks in Illustrator of Peralta (one of my favorite fonts), and then translated it for the three different tools. Note: I did a little cleanup on the Shop Two sign, this picture shows it fresh off the router.


Now if you don’t know which room is which, you’ll be directed to the big, obvious, lovely signs on the doors.


https://farm8.staticflickr.com/7335/16199540699_938e5283df.jpg
CRASHspace Shop Two sign
CRASHspace Library sign


State of the Makin

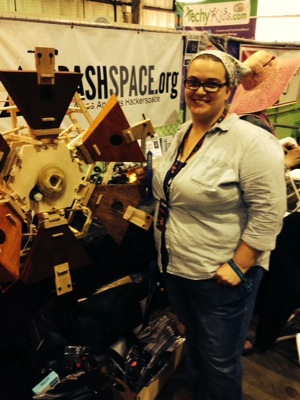
I’ve done a lot of instructables lately. Last week was the end of their Makerspace competition, which had a lot of fabulous entries, and our very own CRASHspace won with my Hexachord instructable. Woohoo! My Light-up Hobbit Papercut Bookmark also won second prize in the papercraft contest.


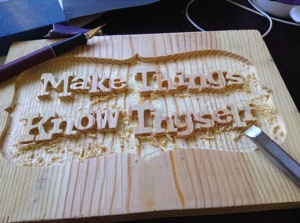
Which is not to say that I haven’t been creating physical things as well. The CNC router is just too much fun to leave alone, and I’ve made a couple wood signs, including this in-progress one of one of my favorite quotes from Steal Like an Artist. More pictures when it’s done.


B88TpqvIQAAvTas IMG 6262


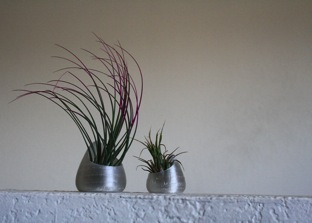
We’ve also been using a lot of T-Glase filament in the Bukito 3D printer, which is transparent(ish) and awesome for things like hanging air plant terrariums. Here’s the STL of the terrarium I designed in the picture above (where the clear filament looks more like silver). Oh, how I’d love to play with a resin printer.


This spring break and summer, I’ll be running the reDiscover Center’s Tinkering Camps, for which we have all kinds of fun plans, and starting this coming Saturday, February 7th, I’ll be doing Tinkering Studio afternoons as well. I am super excited about these upcoming events!

Conductive Poetry

I’ve posted another Instructable, this one for how to make poetry that lights up, using conductive paint and LEDs.


Conductive Poetry


Conductive Poetry


This is a project I came up with last year at the Exploratory to accompany a Bare Conductive paint event.  It’s fun to make ridiculous filler words.  Why, of course, I carry your fish in my shoe!  Why would you question that?

STEAM Carnival Fun

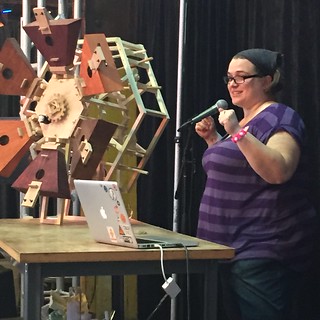
Many thanks to everyone who came to my talks at Two Bit Circus‘ STEAM Carnival this weekend!  I had a great time and was excited to talk to folks about making my instrument.


My Hexachord Talk at the STEAM Carnival


What’s more, the event was just plain fun!  Geeky games and carny exhibits? Awesome! I took a ton of pictures (admittedly many of them were of the Dunk Tank Flambé). You can check out the full flickr album here.

Upcycled Musical Instruments Workshop

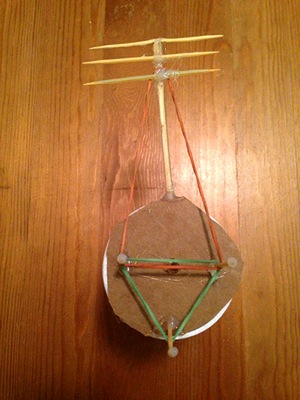
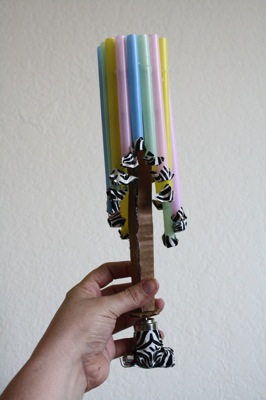
Hey, folks!  Join Jen Fox and me for our Upcycled Musical Instruments Workshop this Saturday at 1450 Ocean! We’ll be bringing along some of our own inventions, including geometric string instruments, motorized pan pipes, and a spinning noisemaker. You can bring your own materials, maybe a big box for a string bass, or keys for a chimes mobile, or you can help me build a giant multi-material marimba from a recycled trellis. Whatever your inspiration, we will help you make it a reality.


Make sure to register! 


Upcycled Musical Instruments

Saturday, Sepember 20th, 1:00 – 2:30pm

1450 Ocean Ave. – Camera Obscura Santa Monica

Cost: $10

Register here!  Pre-registration guarantees you a spot and makes the musical muses happy.


String thing Pan pipes


Music, that universal medium! We’re lucky in that there are innumerable ways to create music using diverse, non-traditional materials. Let’s explore sound and basic design principles to build a personalized instrument from recycled materials – come away with a set of wind chimes, a children’s toy, and/or the confidence to teach others how to upcycle! 

Please bring 1-2 items traditionally considered “trash” out of which to build an instrument – we’ll also bring some starter materials. Things to consider when choosing your materials: most instruments need a hollow area to resonate from, chimes require suspension, many wind instruments use reeds, etc. Consider the components and design of existing instruments to help direct your materials search. Suggested materials: packaging, cardboard boxes (intact), glass bottles, jars, metal scraps or other metallic objects, paper/plastic/styrofoam cups and plates, string/yarn/twine/rope, straws, etc. We will facilitate the process, provide supplementary materials and examples of recycled instruments. Let’s tinker! Mostly we’ll be using hot glue guns, drills and other non-intimidating tools, and we’ll help you use anything you’re unfamiliar with.

Brush Bot Tinker Day at the Camera Obscura Building

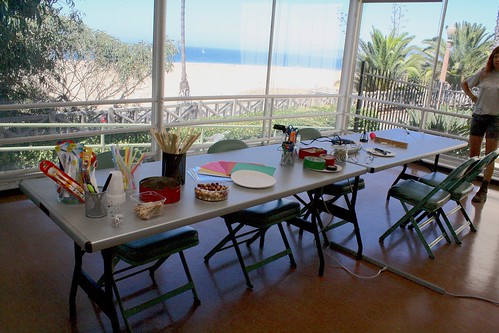
Last Saturday, the fabulous Jen Fox and I had a Tinker Day at 1450 Ocean (the Camera Obscura building) in Santa Monica.  We used inexpensive and recycled materials to make brush bots.  Dollar store electric toothbrushes are a great source for materials, as they include a motor, battery, and other reusable bits.


Camera Obscura Building Setup


Check out a video of our fun!


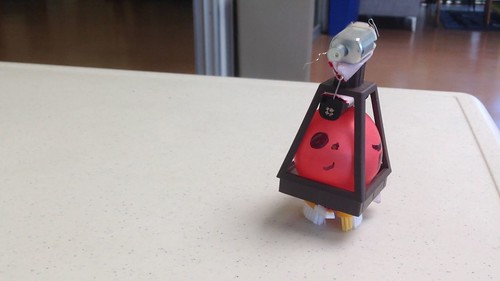
Jen cut off the head from her toothbrush (and a couple others), and created a bristle bot built around a balloon and housing from a solar lawn light.  Balance was precarious at times, but when it fell, we discovered that it was good at breakdancing too.


Balloon Brush Bot


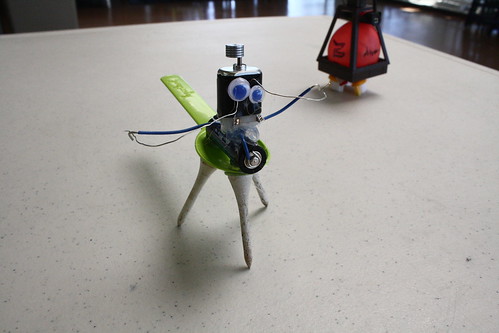
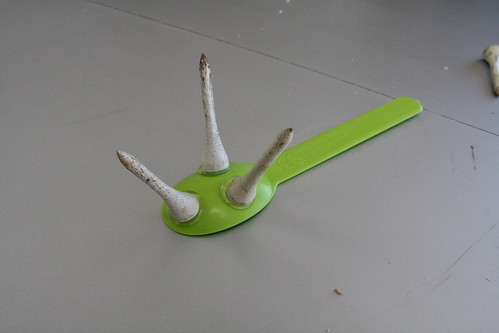
My brushbot was built on a spoon from Yogurtland, and stood on three golf tees.  I tried to keep it as minimal as possible otherwise – motor, battery, and wires.  For a switch, I stretched the wires out into arms and hooked them together when I wanted it to run.  And, of course, the bot requested eyes.  I couldn’t bring myself to refuse.


Brush BotBuilding the Brush Bot


We also created a couple bots made from bamboo skewers, one of which included a 3d printed mechanism to give the movement a little more wobble (see the video above).


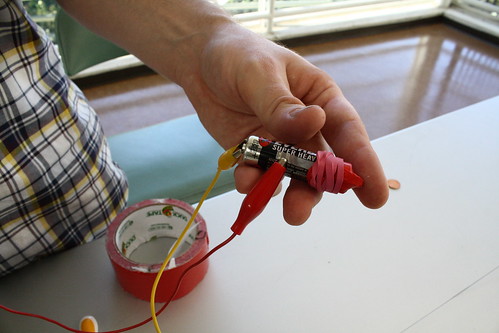
As we decided to forgo pre-made battery packs and switches, there was a lot of experimentation of how to effectively hook up and control power to our bots.  We have used electrical tape to secure wires to a battery in the past; this time we tried using hot glue, metal pieces left over from the toothbrushes, coins, and balloons.  Keep an eye out for my upcoming Instructable detailing our different approaches.


Battery Connection

Latest: Hair Stick, Sofa Foot Box, and 3D Printed Monster

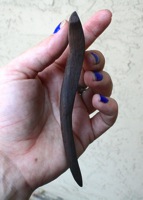
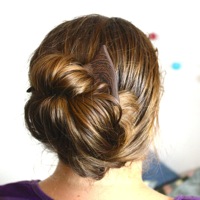
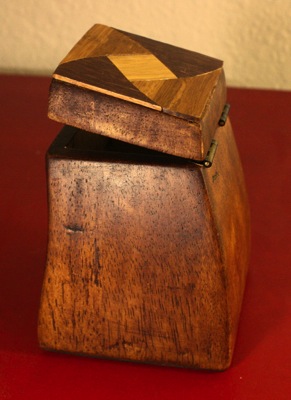
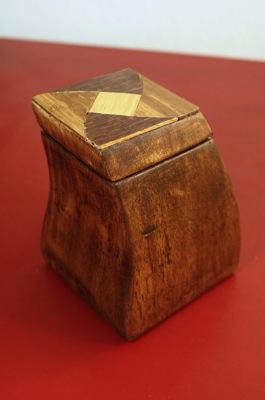
Lots of making recently.  My Dremel tinkering continues, in the form of a two-pronged hair stick (which works pretty well, and doesn’t pull on my hair as much as a regular hair tie), and a wooden box made from the repurposed foot of a sofa.


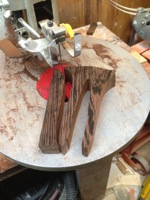
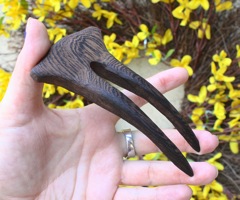
The hair stick was a straightforward process, a matter of drawing the desired shape on the top, and on the side, and then using the dremel tools (and scroll saw to start with) to carve it down to the desired shape.  I used some wenge wood, which is nicely solid (less likely to snap) and pretty.  It also smells really nice, incidentally, but I plan to lacquer the thing.  You’ll see in the sofa foot box, I got into a bit of marquetry, and am considering doing a little decoration on the wide end of this hair stick.  The color of it disappears a bit in my dark blond hair; putting a finish on and adding some patterned details should help.


Hair pin cut Hairpin w flowers Hairpin side Hairpin in hair


The full process of making my Repurposed Sofa Foot Box (with Bonus Marquetry) can be found on Instructables.  It’s pretty fun, and a good project for getting accustomed to the dremel Multi-Max.  It’s mostly made from used parts, except for the hinges.  Had I time, I would have made wooden hinges for it, from that same lovely wenge.  Wooden hinges and associated Instructable, future project.


Box fin back side Box fin redback


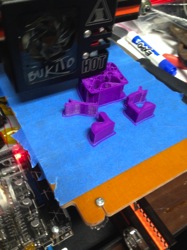
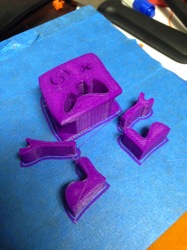
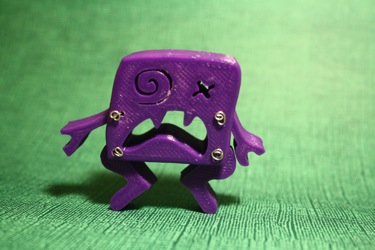
3D printing is something I haven’t done much since last year at the Exploratory on the Replicator 2.  Lately, I’ve been playing with 123D Design (lots of other software options out there to explore too), and recently put together this little monster based on a papercut I did a while back on hitRECord.  It’s largely an extrusion of a 2D image (exported from Illustrator to .svg and imported to 123D Design – in case you were wondering how to do that), with some adjustments to the edges, and holes for articulated arms.  There’s a bit of an overhang issue at those cut out spots, but it’s small enough and loose enough as to not cause a major problem.  I’ll probably come up with a different solution for the next version, especially as it’d be nice to have the limbs extend further into the body, which will require larger holes.  I attached the limbs with wire, curled at either end.  Another option would be to use a piece of filament and melt it at either end to hold the joints in place.  I shall experiment and let you know.


Monster printing Monster on bed monster on tiptoe


Instructables bot

Next on my plate is designing a 3d printed bot with a crank and various other mechanisms. I might make it look like the Instructables robot, cuz that thing is cute and looks like it should be moving.