Marble Run Wall at reDiscover Center

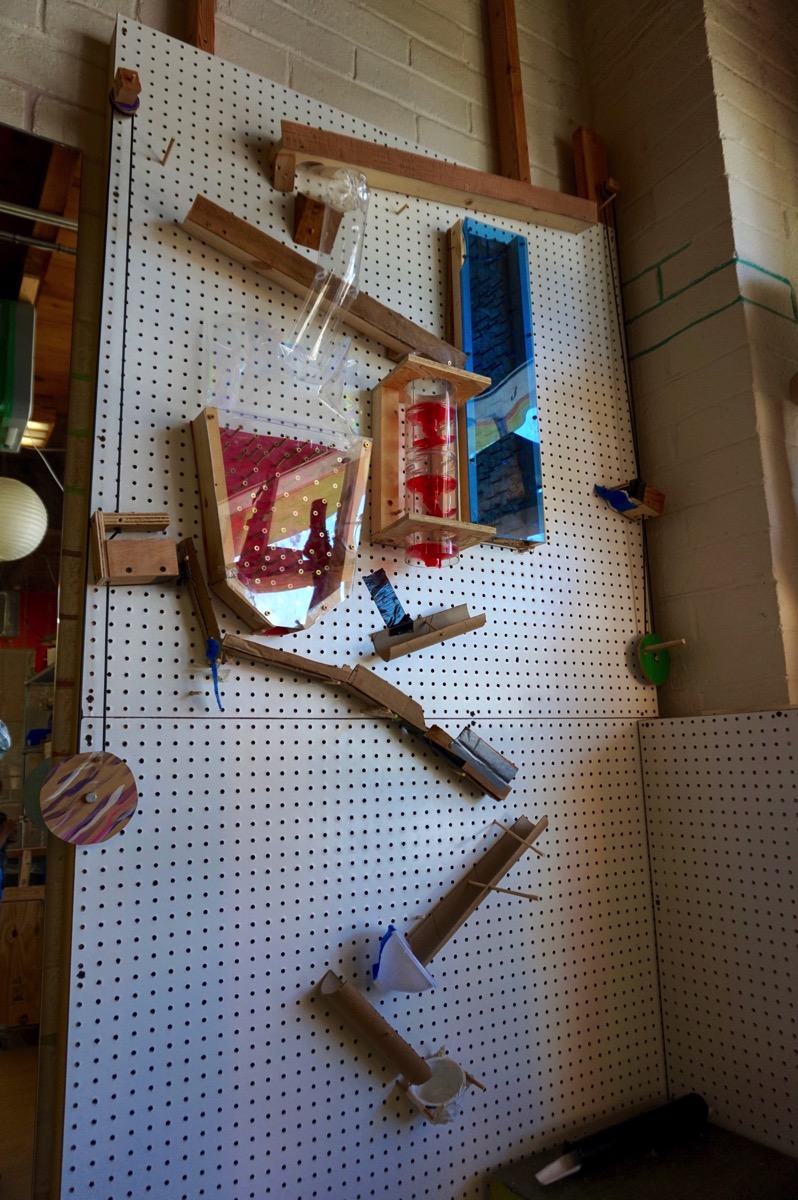
Now that summer Tinkering Camp has wound down, I can share some of what we’ve been up to! I will post about the camp experience in itself soon, but first I’d like to show you one of the newest additions to reDiscover Center. Take a gander at the marble run wall!


DSC03747


I worked with Molly Allis to build an 8-foot-tall pegboard wall for one corner of the studio. The top 40% contains elements designed by myself and some other facilitators and kids, which are meant to stay in place for the most part. There is a spiraling cylinder pulled from a donated gum ball machine, and a pachinko machine that uses screws as pegs. Pulley systems are set up on both sides of the pegboard to allow kids to crank marbles to the top of the marble run and let them loose.


The rest of the pegboard is entirely for tinkering. Kids can make elements such as ramps and funnels to add and move around, using wood, power tools, and recycled materials. Every day includes playing with the marble run wall!


Take a look at the videos below showing the process of making this installation and some of the first elements.


Barb Makes Things: December and January

A roundup of my videos on Barb Makes Things from the last month or so:
 

LayeredringthefirstPhoto Dec 15 8 14 56 PM  1Photo Dec 20 9 13 47 AM


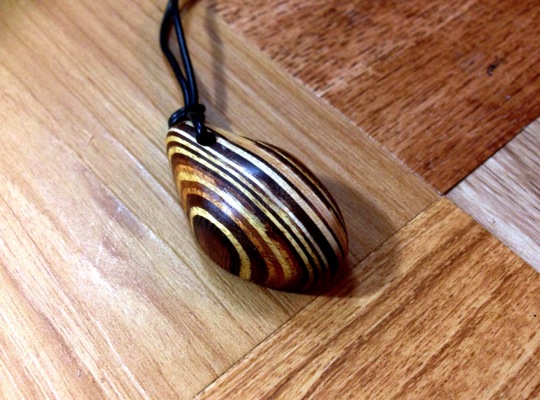
Layered Wood Pendant Necklace

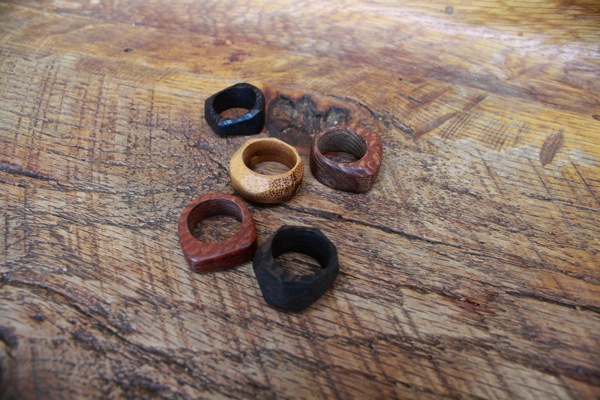
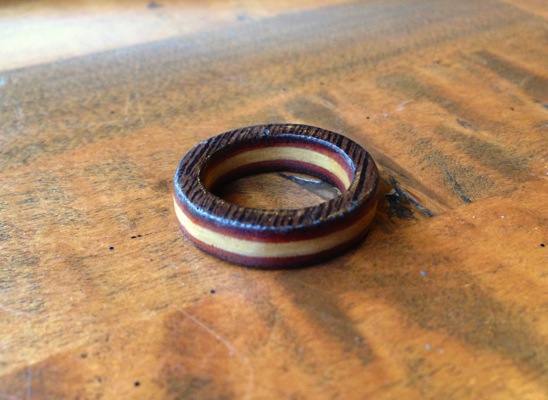
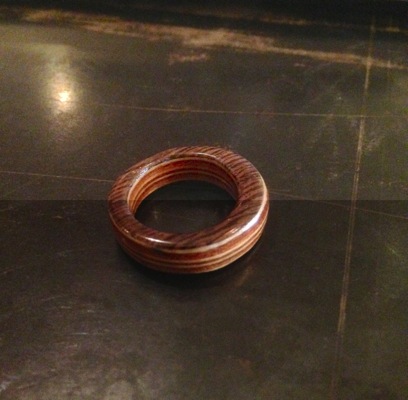
I’ve been making a fair amount of jewelry lately, and Rockler has tons of great, super thin veneer sheets. There are a few tutorials on instructables about making bent wood rings, I decided to go another direction… literally. I’ve now made several rings with many glued layers, and which I finish with tung oil and cyanoacrylate (super glue), and in this video, I make a necklace in a similar style.


3D Cookies

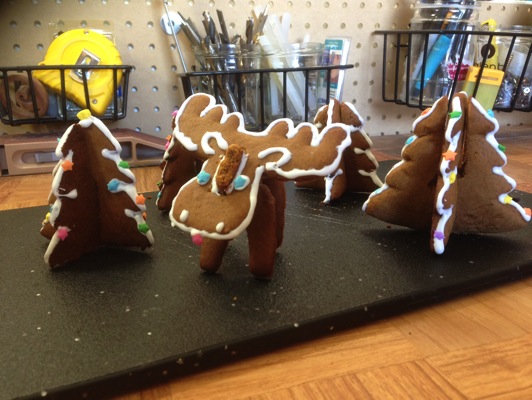
When I say 3D, I mean that in multiple ways: I 3D modeled and printed custom cookie cutters, and the resulting pieces slot together to make a shape that stands up. I only show the process of modeling the tree cookie cutters, but I also created ones for a moose, which you do see toward the end of the video. They were tasty, and an awful lot of fun to make.


Tiled Desk

This is actually footage from back when I was first setting up my desk, so it’s technically my first video. I used floor tiles and hot glued them to a piece of plywood that rests on two small bookshelves. I could have used a more permanent adhesive, or done a finishing coat over the whole thing, but I wanted the flexibility to peel up and replace individual tiles, should they get damaged. And a hot glue gun is an often underestimated tool; the tiles are all staying perfectly.


Wooden Camera Arm

I’ve done a number of tutorial videos in the past, and the tripod is simultaneously helpful, and a huge pain. Getting the camera in the right place for the right shot is one thing, but when you need to reach around it to try to make something, all the while paying extra attention to staying in the shot, well… I knew there had to be a better solution. My first attempt was a custom frame for my camera that would hang from four hooks in the ceiling. It worked for a while, but wasn’t entirely reliable, and wasn’t remotely adjustable. Hence, the custom camera arm. I love mechanisms, especially ones made from wood, and this extending arm does the trick.


Wooden Toy Car

My work at the reDiscover Center focuses mainly on reusing materials, so this video shows a project that someone might make there (actually, cars are a popular thing with the kids who come in). I also spend most of this video working at the kids’ makerspace, so you get to see some of the tools that we (and the kids!) use there.
Woodcraft and Tinkering School Teaser

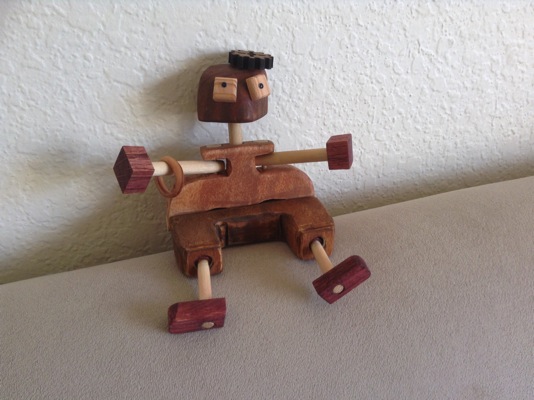
 I’ve been spending a lot of time in the workshop lately, creating more of my wooden ragbots and wooden jewelry for my upcoming Etsy shop. 


IMG 6767new wooden ragbotlayered ring


We’ve been quite busy with the launch of reDiscover Center’s new Tinkering Club program – tinkering every day of the week!  Expect a recap of summer Tinkering School at reDiscover Center soon, with oh so many pictures. To whet your appetite, here’s a video from one of the light and shadow plays a group of campers created (they wrote it, made the stage/screen, designed all of the puppets, and did the lighting).


Spring Break Tinkering School, Part 2


rDC Spring Tinkering Camp

Spring Break Tinkering School at reDiscover Center finished about a month ago now, and was great fun, and finally I have the chance to show you more pictures and video from the week! Check out my Flickr album here. The kids got a basic understanding of many of the things that go into creating a movie while building and playing with their creations. Thursday morning, we finished up our sets, props, and costumes, and in the afternoon we had some rehearsals, followed by quick filming. As it turned out, our main character was one of the script writers, and he had his lines memorized pretty much from the get go.


There were a few places where the counselors needed to supervise more closely than we might have ordinarily, given more time, so that we could get a video that effectively captured their creations. Several campers took turns operating the camera dolly with a counselor always on hand to keep an eye on the camera angle and record button, and one in particular took a keen interest in the audio recording, spending a lot of Thursday roaming camp with a recorder mounted on a camera tripod acting as a boom and headphones so she could hear what the microphone heard.


Thursday night, I edited our footage, a panoply of experimentation, improvisation, and sometimes intentional bloopers. (If I’d had more time, I would have created a blooper reel as well)


First thing Friday, after our welcome activity, the campers had the opportunity to see their movie, Attack of the Marshmallow Maniac, which clocked in at a whopping six minutes. Click below to watch it!


One of the things that most impressed me was that, once we hit our stride on Friday, creating elements of our theater/arcade for the parents’ screening, the campers had reached a point where they were comfortable enough with the tools that they could focus almost entirely on their creations. It is such a satisfying experience to see your campers truly absorb the medium.


There are many exciting plans in the works for Summer Tinkering School (one-week sessions starting June 15th – some spots are still available), but I won’t list them here in case any future campers are reading. It’s a surprise! You’ll love it!